Back to: Java Tutorials
Why do we need to set JAVA_HOME?
Many Java-Based applications need to have the JAVA_HOME environment variable set for running those applications. This variable indicates the path for the Java Runtime Environment (JRE) which provides the runtime for Java-based applications.
Download and Install Java (Ignore if you have already Java Installed):
Download a new JDK .exe file from
https://www.oracle.com/technetwork/java/javase/downloads/jdk8-downloads-2133151.html
Select the x64 for 64-bit PC or x86 for 32-bit PC executable from the bottom of the JDK menu to download the new JDK executable.
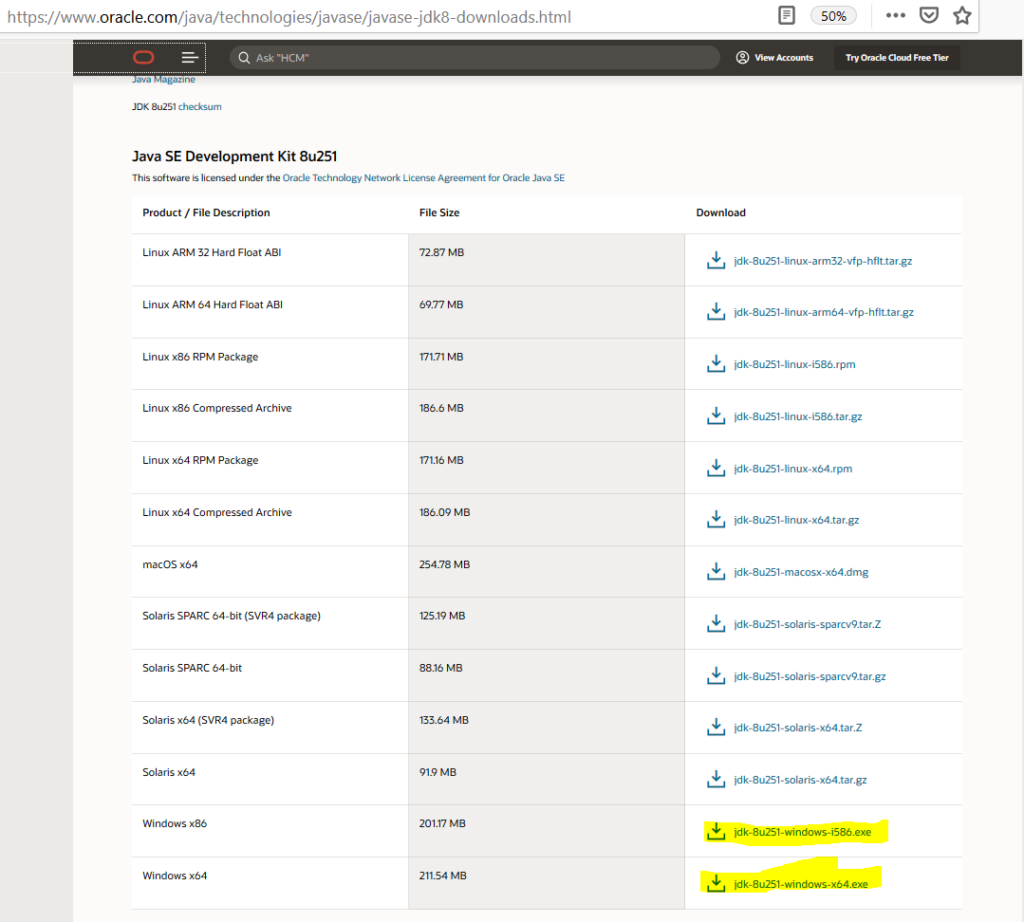
*Note: Oracle now asks first to set up an Oracle account before beginning installation.
Create an account complete the installation.
Set JAVA_HOME :
- Search for “Environment” at the Windows search and click on “Edit the system environment variables”

2. Click on “Environment Variables”

3. Click on “New”

4. For the Variable name, write “JAVA_HOME” and for Variable value, paste the exact path where your Java is installed like the below image. For me it is: “C:\Program Files\Java\jdk1.8.0_251”. Then hit “OK”

5. Now find “path” variable and click on “Edit”

Add your JAVA_HOME like the following picture: Click on “New” and then add “%JAVA_HOME%\bin” and finally hit “OK”>”OK”>”OK”

Test whether you did it right or not:
Type “cmd” at the Windows search and select “Command Prompt” from the options.

Now, type “Java -version”. You will see information about your installed version of Java. For me the version is: “java version “1.8.0_251″”

Congratulations! You did it right.